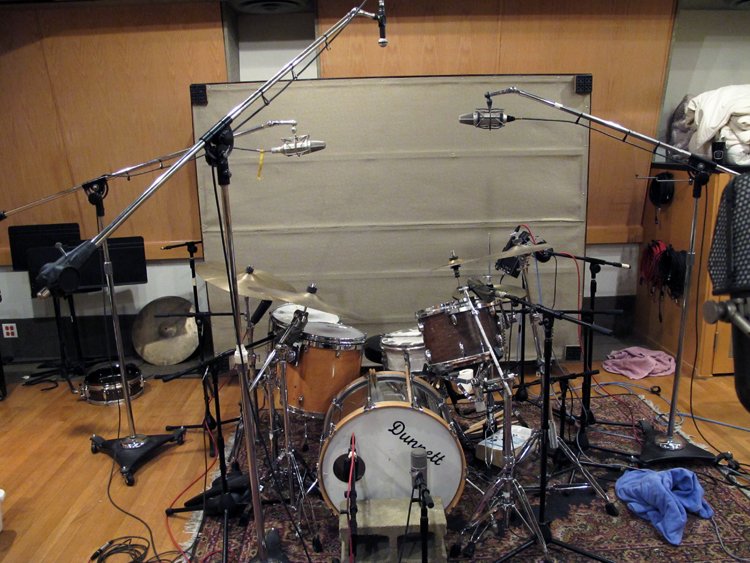
One of the most important yet overlooked parts of a drum mix is checking the phase of the drums. This is because not only will an out-of-phase channel suck the low end out of the mix, but it will get more difficult to fix as the mix progresses.
I covered how to check the polarity of the drum mics a few weeks ago, but here’s an excerpt from my Audio Recording Basic Training book (also covered in the Audio Mixing Bootcamp book) that covers a way to check the phase when you’re setting up for a mix as well.
“A drum mic can be out of phase due to a mis-wired cable or poor mic placement. Either way, it’s best to fix it now before the mix goes any further.
1) With all the drums in the mix, go to the kick drum channel and change the selection of the polarity or phase control. Is there more low end or less? Chose the selection with the most bottom end.
2) Go to the snare drum channel and change the selection of the polarity or phase control. Is there more low end or less? Chose the selection with the most bottom end.
3) Go to each tom mic channel and change the selection of the polarity or phase control. Is there more low end or less? Chose the selection with the most bottom end.
4) Go to each cymbal mic or overhead mic and change the selection of the polarity or phase control. Is there more low end or less? Chose the selection with the most bottom end.
5) Go to each room mic channels and change the selection of the polarity or phase control. Is there more low end or less? Chose the selection with the most bottom end.”
You’d be surprised how many times that flipping the phase on one or two of the drum mic channels results in a better, fuller sounding kit, even on one that’s well-recorded.
To read additional excerpts from the Audio Recording Basic Training book or any of my other books, go to the excerpts section of bobbyowsinski.com.

