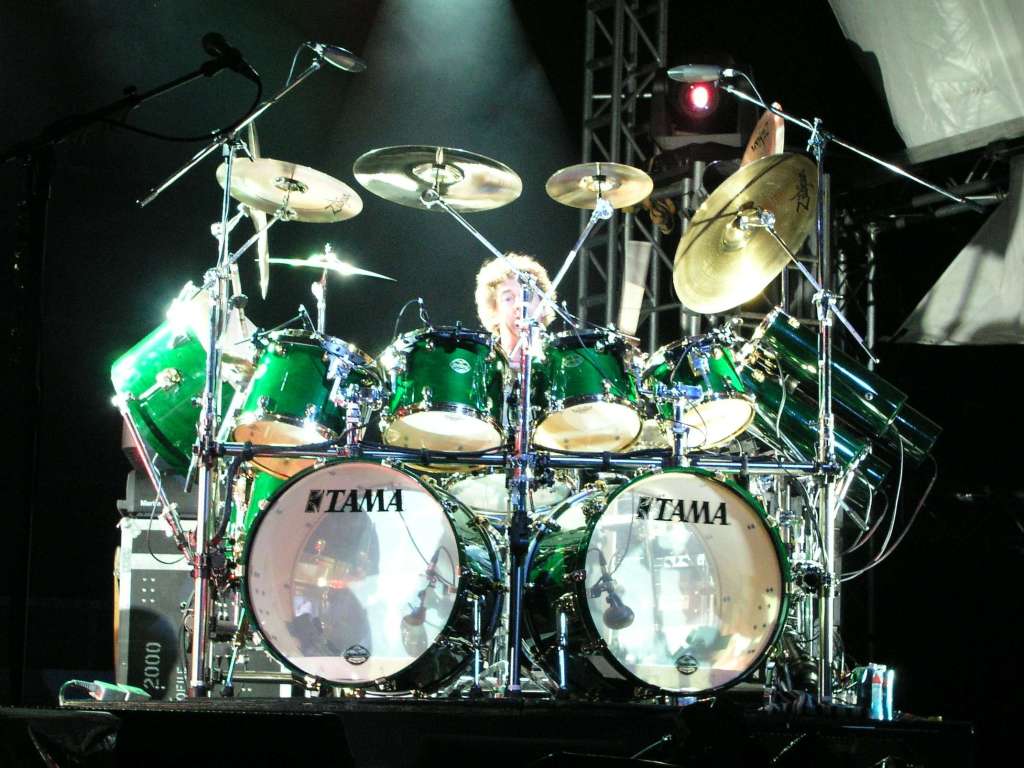
Sometimes replacing or augmenting recorded drums with new sounds is necessary during a mix. You might want the drums to sound bigger or just need something that fits better in the track. Here are 7 drum replacement tricks from the latest edition of The Mixing Engineer’s Handbook (the 3rd) that will help your samples really sing.
“There are many techniques when it comes to sound replacement or enhancement. While most refer to drums, it’s possible to use some of the same techniques in other situations as well if you’re willing to experiment.
1. If the original drum sounds okay soloed but disappears in the track, select a sample with high initial transient. If the original tone of the drum doesn’t fit the song, select a sample based on the character of the body of the sound after the initial hit.
2. Timing is extremely important when adding a sample to the original sound, so care should be taken so that both transients line up together. Many sound replacement plugins have some latency, so be sure to check this closely and move the sample as necessary.
3. It’s critical that you check the phase alignment of the sample against the original drum. Even though it may look to be in-phase, your ears may tell you something completely different when the Phase button is selected.
4. Snare drum is the hardest to augment/replace because of the nuances in how hard and how frequently the drummer hits it. Be sure to use a multi-sampled snare drum with multiple level variations in order to keep it sounding like it was played by a real drummer.
5. If you don’t have a multi-sampled snare or the sound doesn’t have enough sample levels, you can make your own by duplicating the sample a few times and raising and lowering each one by 2 cents.
6. Slightly changing the pitch of the sample gives the impression that the snare is hit a bit louder or softer.
7. You can make your own samples especially for the song by taking the best sounding hits from the recording of the kit your mixing and triggering them as needed.


